
Three production routes are sold under one phrase, and buyers compare them as if the difference were cosmetic. A “custom molded orthotic” can be formed over a model, cut from a sheet by a milling machine, or printed layer by layer. The finished pair can look similar in a photograph. The economics, the tolerances, the lead times and the failure modes are not similar at all.
Choosing between them is a decision about volume, about the shape of the brief, and about what the clinic or lab intends to own. A single-pair service has different constraints from a laboratory producing batches for several clinics, and a route that suits one will quietly ruin the other.
FOOTWORK LAB produces insoles in our own plant in Ruichang, Jiangxi Province, and we work with all three routes depending on what a customer’s brief and volume require. This article compares them on the things that decide whether a programme works: repeatability, finishing labour, tooling, and what happens when a specification changes.
Three routes to the same brief
All three routes start from the same place: a specification derived from an assessment. Shell stiffness, arch geometry, heel cup, cushioning, top cover, intended footwear. The route determines how that specification becomes a physical object, not what the object should be.
That distinction is worth holding onto, because buyers often choose a route first and write the brief afterwards. The result is a brief shaped by the process rather than by the foot: a design that suits printing because printing is available, or one that avoids a deep heel cup because the mould does not allow it. The order should be reversed.
The second thing all three share is finishing. Every route produces a rough object that needs edges dressed, a top cover bonded, and a check against the specification. Finishing is where much of the labour sits in all three, and it is where quality varies most between suppliers.
Molding from a positive model
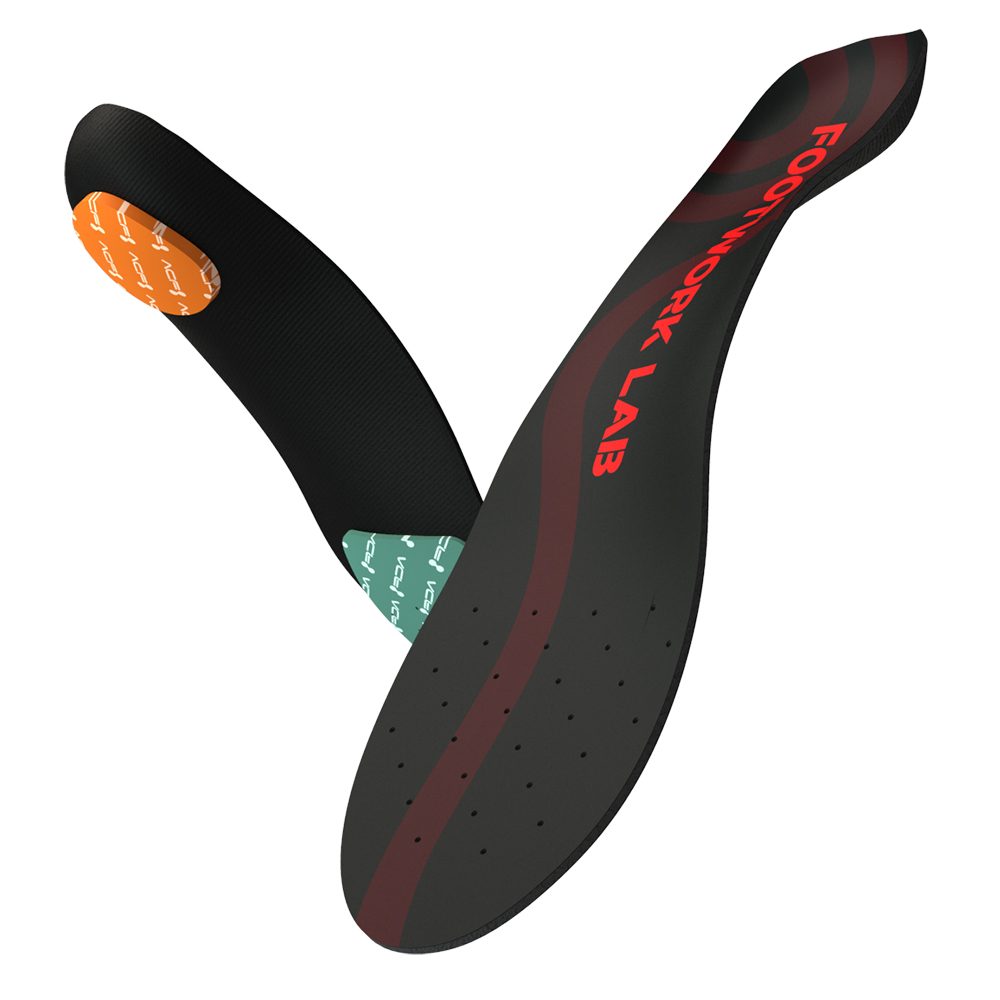
Molding forms a heated sheet over a positive model of the foot, then trims and finishes the result. The model can come from a physical cast or from a machined block produced from captured data. The sheet is pressed or vacuum-formed against it, and the shape is held as it cools.
The strength of the route is that it produces a continuous shell with no joints and predictable behaviour under load. It is well suited to deeper, more structural builds where the shell does much of the work, and to specifications that need a specific curvature across the arch rather than a shape cut from flat stock.
Its constraint is tooling. Each model is an object that has to be made, stored and found again. For a single pair that is acceptable. For a range across several sizes it becomes a library, and a library needs management: labels, storage, revision notes. A lab that cannot find the model for a reorder has lost the advantage the route was chosen for.
What a model library really costs
A lab that chooses molding is choosing to run a library, and libraries have a cost that never appears on a quotation. Every model has to be labelled with the customer, the date, the specification revision and the size it represents. It has to be stored somewhere that does not deform under weight or heat. It has to be retrievable by someone who was not there when it was made.
The failure mode is quiet. A model is pulled for a reorder and it is not the revision that was approved, or it is a size that was adapted by hand and never re-photographed. The pair that comes out is close enough to pass a visual check and different enough to be noticed by the person wearing it. By the time anyone works out why, two more pairs have been built from the same model.
Revision control is therefore not bureaucracy. A simple rule — one model, one label, one revision number, and no hand adaptation without a new label — prevents almost all of it. The rule costs a marker pen and a few seconds per pair.
Milling from a sheet or block
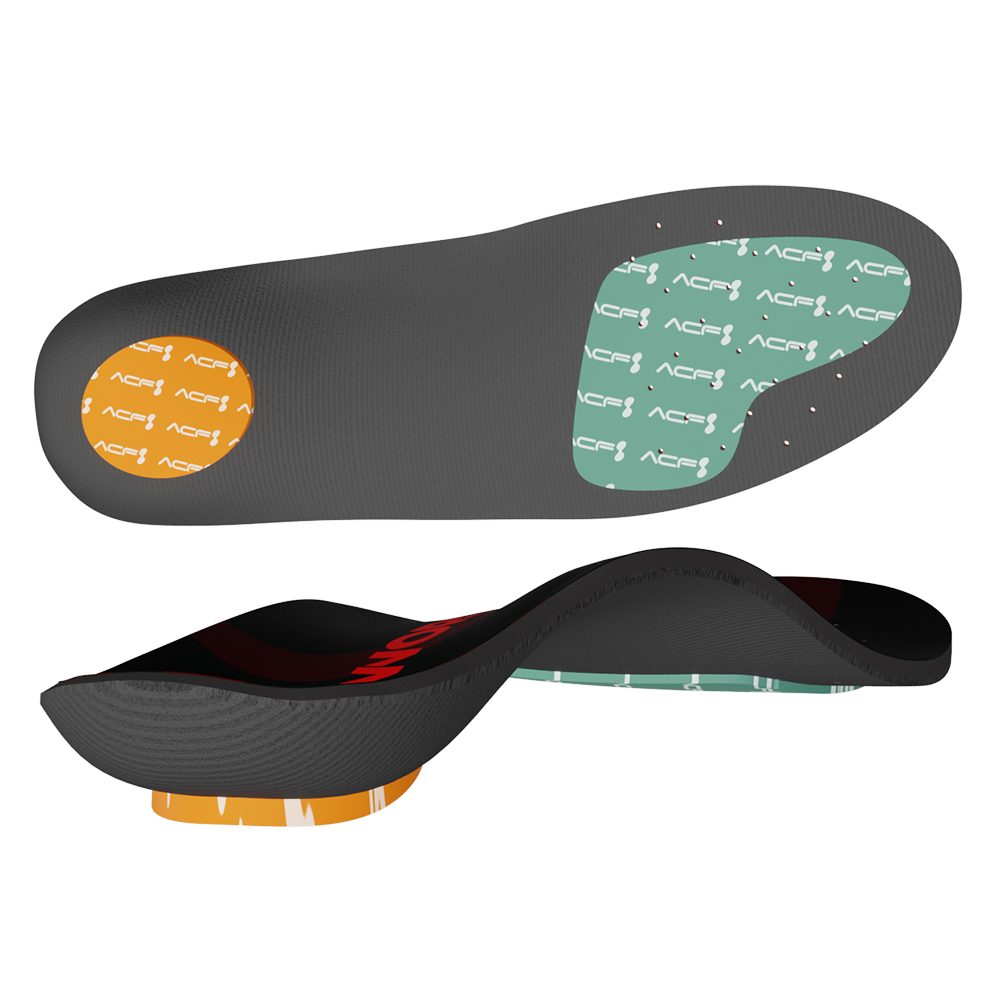
Milling starts from a block or sheet of material and removes everything that is not the insole. The tool path comes from captured geometry, so the shape can be changed between pairs without any physical tooling. That flexibility is the route’s defining advantage: a revised specification is a revised file, not a new model.
The result is a shell with consistent thickness where the tool path says so, and with edges that are clean by machine rather than by hand. For labs producing several specifications a week, that combination — no tooling, easy revision — often outweighs the material waste.
The constraints are material and dust. Not every material mills well, and some produce waste that has to be managed. Milling also leaves tool marks that finishing has to remove, which adds labour at the end of the process. Where a lab is producing at volume, the waste per pair becomes a line in the cost model rather than a footnote.
Printing: where it fits and where it does not
Printing builds the object additively, layer by layer, from a digital file. The obvious advantage is geometric freedom: internal structures, variable density and lattice patterns that neither molding nor milling can produce from a single sheet. For research, for complex cushioning gradients and for very small batches of unusual geometry, that freedom is real.
The constraints are equally real. Material choice is limited to what the printer can process, and the mechanical behaviour of a printed shell depends on print orientation and layer adhesion as much as on the material itself. Surface finish requires post-processing, and the per-unit cost falls only slowly with volume, because the machine time per pair does not shrink much.
Where printing earns its place is in iteration. A lab testing three variants of a cushioning gradient can print all three in a week; molding or milling would require three separate setups. Where it competes poorly is in steady production of a specification that has already been settled, which is the situation most clinics are actually in.
Where costs actually differ
Buyers tend to compare routes on material cost per pair and stop there. The larger differences sit elsewhere. Tooling is the first: molding carries model cost, the other two do not. Labour is the second: molding and milling both need finishing, printing needs post-processing and support removal, and the amount differs by geometry rather than by route alone.
Machine time is the third. Milling and printing both occupy a machine for the duration of a pair, so throughput is bounded by equipment. Molding can produce in batches once a model exists, which is why it becomes cheaper at volume even though the setup is more expensive.
Waste is the fourth, and it is the one most often ignored. A milling route that removes most of a block has a material cost per pair that is much higher than the block price suggests. A molding route wastes little material but consumes a model. Printing wastes little and consumes time. None of these is decisive on its own; together they determine which route fits a given monthly volume.
Material handling deserves its own line in the comparison. A milling route generates dust and offcuts that have to be extracted and disposed of, and the extraction is a health and safety matter rather than a tidiness preference. A printing route generates support material and requires ventilation. A molding route generates trimmed waste and consumes sheets. None of these is disqualifying; all of them need to be planned for before the equipment arrives rather than after the first week of production.
The first-article check is the other habit that separates a controlled process from an optimistic one. Before a new specification goes into production, build one pair, measure it against the brief and keep it as a reference. That pair becomes the answer to every later question about whether the product changed, and it costs one pair of material rather than a batch of rework.
Volume, lead time and the shape of demand
Demand has a shape, and the route should match it. A clinic producing a handful of pairs a week with frequent specification changes is served best by a route with no tooling: milling, or printing where geometry demands it. A laboratory producing steady batches of a settled specification is served best by molding, where the model cost is amortised across many pairs.
Lead time follows. Milling and printing are effectively one-piece flow: the pair enters the queue and comes out. Molding has a setup step per model, which means batching pairs to spread that cost. For a customer waiting on a single pair, the difference is measured in days, and for a customer ordering a hundred, it is measured in scheduling.
There is a third pattern worth naming: a mixed programme. A lab can mill the first pair to validate a specification, then move the settled design to molding for volume. That sequence uses each route for what it does best, and it avoids committing to tooling before the brief has been tested on a real foot.
One comparison that buyers rarely make: ask each supplier what happens when a pair fails in the field. A molding process can point to a model and re-run it. A milling process can point to a file and re-cut it. A printing process can point to a build log. The supplier who can produce that record in ten minutes is the one whose process is under control, and the answer tells you more than the sample pair ever will.
Quality control across the three routes
Quality control looks different in each case, but the questions are the same. Does the pair match the specification? Are the left and right consistent? Does the shell behave as specified under load? Is the finishing clean enough that no edge becomes a pressure point?
For molding, the check is dimensional: the model is the reference, and the shell either follows it or it does not. For milling, the check is against the file, plus a visual inspection for tool marks and thickness variation. For printing, the check includes the build itself: orientation, layer consistency, and whether the internal structure came out as designed.
Across all three, the most useful control is a physical reference pair kept from each specification. When a customer returns a pair that feels wrong, comparing it against the reference tells you whether the product changed or the foot did. That single habit resolves most disputes without argument.
Choosing for your setting
Start with three numbers you already know: pairs per month, specifications per month, and how often a specification changes after the first order. High change frequency points away from tooling. High steady volume points toward it. Low volume with complex geometry points toward printing, provided the material suits the use case.
Then check the supplier against the route. A factory that runs all three can tell you which one it would use for your brief and why, and that answer is more informative than a price list. A factory that runs only one will describe every brief as a fit for it, which is a useful signal in itself.
Our own position is straightforward: we produce molded and milled builds as standard, and we regard printing as a route for specific geometries rather than a default. Two hundred pairs is our minimum for insoles, mixed across models and sizes, with samples dispatched within three days of specification approval so a route can be validated before a production order.
Frequently asked questions
Is a printed insole as strong as a molded one?
It depends on the material and the build orientation. Printed structures can be strong in the direction they were designed for and weaker across layers. For a shell that carries load in a predictable direction, molding or milling is usually the more conservative choice.
Can I change the specification after the first order?
Yes on all three routes, but the cost differs. Milling and printing change a file; molding may require a new model. That difference is why we often mill a first pair and move a settled design to molding for volume.
Which route is best for a small clinic?
The one with no tooling, unless the volume justifies otherwise. A clinic producing a few pairs a week with changing requirements gains little from a model library and loses flexibility by committing to one.
How long does a first order take?
Samples are dispatched within three days of specification approval. Production scheduling depends on route and volume; shipping is six to seven working days by express, ten to twelve by air, and thirty to thirty-five by sea.
Do you produce to another company’s specification?
Yes. Insoles are available under both ODM, where we carry more of the design decisions, and OEM, where we produce to your brand and specification. On machines we accept ODM, with OEM discussed case by case.
Who owns the model or the file?
That should be agreed in writing before production. For OEM work it is normally the customer’s specification and the supplier’s process; for ODM it is usually the reverse. Ambiguity here causes problems later when a customer wants to move production.
How is quality checked before dispatch?
Against the written specification, with a reference pair retained for each build. Every order leaves the plant with a specification on file covering materials, geometry and the assessment it was derived from.
What we would do next
Write the specification first and let it choose the route. Our walkthrough of a production order shows how that sequence works from capture to dispatch, and the insole categories page lists the builds we produce as standard.
If you want a route recommendation for a specific brief, contact our production team and send the specification. Terms are on the FAQ page, and the factory page shows the equipment the routes run on.
This article is intended for professional and educational reference. It is not medical advice. Foot assessment equipment produces measurements and images; clinical interpretation and any decision about care remain the responsibility of a qualified professional. Certification scope is limited to the documentation we hold: European Union certification and ISO quality system certification.