
A laboratory is a sequence of rooms before it is a list of equipment. Buyers plan the equipment first, then discover that the rooms will not hold it, that the clean area is next to the grinding area, and that the only power outlet is where the assessment chair was supposed to go.
The order should be reversed. Decide what happens in each space, how a pair moves between spaces, and where the boundary between dirty and clean sits. Then the equipment list writes itself, and the fit-out cost stops being a surprise.
This article walks a small orthotic laboratory room by room: assessment, forming, trimming, bonding, storage and packing. It covers what each space needs, what it must not share with a neighbour, and the decisions that are cheap at fit-out and expensive afterwards. It is written for clinics and laboratories planning a first dedicated room, and for distributors advising on layouts.
Why layout comes before equipment
Equipment can be changed. Walls, drainage, extraction ducting and electrical capacity cannot, at least not without closing the room. The decisions that are expensive to reverse are all layout decisions, which is why they deserve to be made first.
The second reason is flow. A pair of insoles travels through five or six operations, and each transfer is a chance to lose time, drop a pair or mix two specifications. A layout that puts the operations in sequence on one bench removes most of that risk; a layout that spreads them across a room creates it.
The third reason is separation. Some operations generate dust and fumes; others require a clean surface. Putting them next to each other means one contaminates the other, and the resulting defects look like quality problems rather than layout problems.
The assessment space
The assessment space is patient-facing and needs privacy, a chair that allows a proper capture, a screen the clinician can see and the patient cannot, and enough clear floor for a walking pass if dynamic recording is part of the routine.
Lighting matters more than most rooms allow. Camera-based posture capture needs even light without strong backlight, and a window directly behind the patient is the most common cause of poor images. A blind or a repositioned chair solves it at fit-out and is awkward later.
Power and network belong at the assessment point, not across the room. Assessment systems need a stable supply and, where updates and remote assistance are used, a network connection. A trailing cable across a walking path is both a hazard and a reason the system gets moved.
Storage for shoes is worth planning here. Customers arrive in footwear that must be examined, and a small rack beside the chair keeps the consultation in one place rather than sending the customer back to reception.

A small detail that repays its cost: put a shallow tray beside the assessment chair for the customer’s own insoles and socks. Consultations that begin with a search for somewhere to put things begin badly, and the search usually ends with a pair of insoles on the floor beside a grinding station.
The forming area
Forming needs ventilation, a stable bench at working height, space to open the machine and a surface beside it for blanks and formed shells. It also needs to be out of the patient’s path, because heat and noise do not belong in a consultation.
Extraction is the decision that cannot wait. Forming releases volatiles, and a room without local extraction becomes unpleasant within an hour and unacceptable within a week. Ducting to the outside is cheapest before the ceiling is closed; a recirculating filter is a compromise that works in small rooms if it is maintained.
Bench height deserves a mention because it is routinely wrong. Forming involves lifting and positioning, and a bench set for writing produces back strain by the end of a batch. Measure the working height against the tallest regular operator and provide a stool for the shortest.
Thermal stability is the last consideration and the least visible. A forming area next to an external door experiences draughts that change how blanks cool, and the resulting variation is attributed to the machine. A screen or a repositioned bench removes the variable.
The distance from the forming bench to the next station is worth measuring before the bench is installed. If a formed shell has to be carried across a doorway, the room will develop a traffic problem that no amount of procedure solves, and the shells themselves will acquire dents from being set down in a hurry.
Trimming and grinding
Trimming is the dirtiest operation in the sequence and should be planned as such: a defined area, local extraction at the tool, and a boundary that dust does not cross. Everything downstream depends on that boundary holding.
The area needs a solid bench that tolerates vibration, a tool with an extraction hood, and a clear space in front of the operator rather than behind. Offcuts need a bin at hand, because a bin across the room becomes a floor covered in offcuts.
Visibility matters here too. A bright, low-angle light over the trimming surface reveals edge defects that overhead lighting hides. It is a small cost at fit-out and the single most effective quality measure in the room.
Where the volume justifies it, a dedicated trimming machine with dust extraction replaces the hand tool and improves both the edge consistency and the air quality. The sequencing is the same: extraction first, machine second.
Noise is the other constraint that is decided at fit-out. Grinding and extraction are loud enough to make conversation difficult, which matters in a building where a consultation is happening two rooms away. A door, a partition or a position at the far end of the plan costs little now and prevents an irritant that would otherwise last as long as the lease.
Where the room is being built rather than adapted, one more decision belongs here: a floor that tolerates adhesive drips and can be cleaned without damage. Bare concrete dusts, carpet holds contamination, and a sealed surface pays for itself the first time a bottle is knocked over.
Bonding and finishing
Bonding needs the opposite of trimming: a clean, dust-free surface, away from the grinding area and away from the door. Adhesive will not bond to a dusty surface, and the failure appears later as a lifted edge rather than as an obvious defect.
A separate bench with a washable top, a small press or a roller, and sealed storage for adhesive is enough for most laboratories. Where solvent-based adhesives are used, local extraction or a well-ventilated position is required, and the adhesive should be stored according to its own instructions rather than on the bench.
Finishing — cleaning, marking and inspection — belongs beside bonding, because it is the last chance to see the pair before packing. A low-angle light and a flat reference surface make the inspection meaningful rather than ceremonial.
Packing should be adjacent too. A pair that is inspected and then carried across the room to a packing station loses the benefit of the inspection, because it passes through the area where dust and offcuts live.
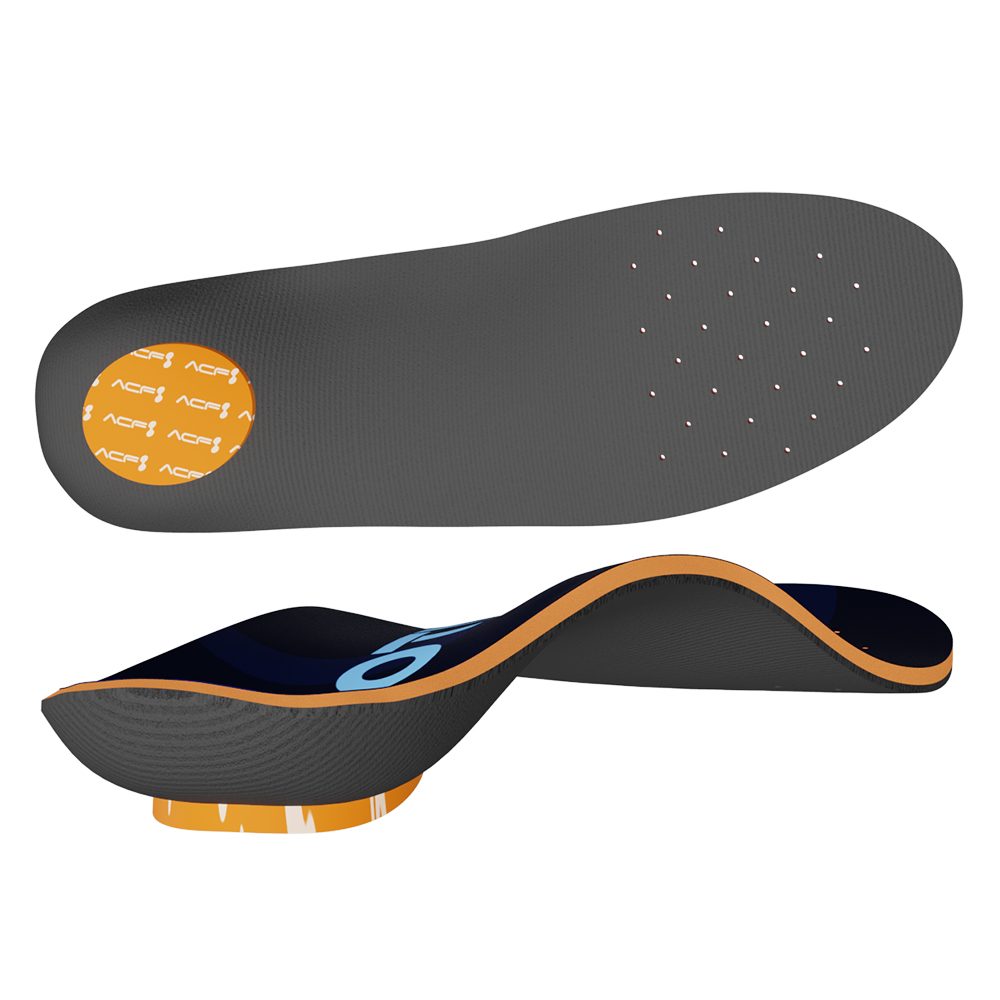
The bonding bench also needs a place to put a pair down while the adhesive is open. That sounds trivial until a workshop is running at capacity, at which point every horizontal surface becomes a drying rack and the clean zone stops being clean.
Temperature is worth a moment here. Adhesives behave differently in a cold room, and a bench next to an external door will produce inconsistent bonds in winter that look like a material problem. Keeping the bonding area away from draughts is cheaper than changing adhesive.
Where the building allows it, a small sink in the trimming area repays its cost quickly: hands, tools and trays all need cleaning between materials, and a sink across the building is a reason not to.
Storage, and the dirty-clean boundary
Storage is three separate problems: raw material, work in progress and finished goods. Treating them as one shelving unit is how a workshop ends up with material stored above a grinding bench.
Raw material needs flat storage, sealed, away from light and moisture. Work in progress needs a labelled tray per specification so that pairs do not get mixed, which is the most common cause of a wrong pair being delivered. Finished goods need a clean, dry position and a labelling routine that matches the record.
The dirty-clean boundary is the organising principle for the whole layout. Grinding and trimming sit on one side; bonding, inspection and packing on the other; forming in between but vented away from the clean side. Traffic crosses the boundary once, in one direction, with the pair in a tray.
Where the room is small, the boundary can be maintained by sequence rather than by walls: dirty work in the morning, cleaning, then clean work. That works if the cleaning is real and scheduled, and it fails if it is handled as a formality.
The checklist should also name what the room does not do. A laboratory that quietly becomes a storage room for shoes, boxes and equipment waiting for repair loses the flow it was designed around, and the loss is gradual enough that nobody notices until the work is being done in the corridor again.
Budget belongs on the checklist too, and it should be split into three lines rather than one: the room, the services and the equipment. Buyers who budget a single figure usually spend it on the equipment and discover that the room and the services were not optional, which is how a laboratory ends up operating in a space that was never finished.
The services line is the one that surprises. Extraction ducting, additional circuits, lighting changes, a door that closes properly and a floor that can be cleaned all belong to the building rather than to the process, and none of them appear on an equipment quotation. Estimating them before the equipment is chosen keeps the two conversations separate and the total honest.
Timing matters as much as cost. Building work rarely runs to plan, and equipment delivered into an unfinished room tends to be installed badly or stored in a corridor. Sequencing the fit-out to finish before delivery, with a short buffer, is the least glamorous decision in the project and the one most likely to determine whether the first month is calm.
Finally, plan for the room to be used by people who did not design it. Labels on storage, a printed route for a pair in progress and a one-page guide to the stations will do more for consistency than an induction session, because they are available every day rather than once.
A fit-out checklist in the right order
First, the flow: list the operations, put them in sequence, and draw the route a pair takes. Second, the boundary: decide where dirty and clean separate. Third, the services: power, extraction, lighting, network and water if relevant, positioned against the flow rather than against the walls.
Fourth, the benches: height, depth and position for each operation, with the surface beside the tool rather than behind it. Fifth, the storage: three categories, three positions. Sixth, the equipment: specified to fit the spaces and the flow rather than the other way round.
Only then should quotations be requested, and they should be requested against the layout. A supplier who can see the room and the flow will quote a specification that fits it; a supplier quoting into a description will quote something plausible that may not.
Storage labelling is the last layout decision and the one that prevents the most embarrassing errors. A tray marked with a specification reference, placed where the pair will next be needed, removes the possibility of two similar orders being mixed, and mixing is the defect that customers notice instantly and forgive least.
Frequently asked questions
How much space does a small orthotic laboratory need?
It depends on how many operations are in-house. A room that holds assessment, forming, trimming, bonding and packing needs distinct zones for each, plus a route between them. Measuring the sequence is more reliable than applying a rule of thumb.
Can assessment and production share one room?
Only with a clear boundary and scheduling. Dust and heat do not belong in a consultation, and a patient should not be seated beside a grinder. If one room must serve both, separate them by time as well as by position, and clean between.
Is local extraction really necessary for forming?
Yes for comfort and air quality, and it is far cheaper to install during fit-out than afterwards. Ducting to the outside is the simplest solution; a maintained recirculating filter is a workable compromise in a small room.
What is the most common layout mistake?
Putting bonding next to grinding. Adhesive will not bond to a dusty surface, and the resulting lifted edges look like a material or process fault rather than a layout problem.
Do you supply laboratory equipment or fit-out services?
No. Our scope is foot assessment systems and finished custom orthotic insoles. We can describe the workflow from operating our own plant, but we do not supply presses, benches, extraction or fit-out services.
What should the assessment space provide for your systems?
A stable power supply, a level floor area for standing and walking captures, even lighting without strong backlight, and a network connection where remote assistance or over-the-air updates are used.
Can you produce the insoles so the laboratory needs fewer stations?
Yes. Producing finished insoles to specification removes forming, trimming and bonding from your room. Minimum order is two hundred pairs, mixable across models and sizes, with samples within three days of specification approval.
What we would do next
Draw the route a pair takes through your building before you request a single quotation, and mark where the dirty-clean boundary sits. That drawing will change the equipment list, and it will make every quotation comparable. Our insole categories page shows what we produce for laboratories that would rather not run every station, and the FAQ page covers order terms.
This article is intended for professional and educational reference. It is not medical advice. Foot assessment equipment produces measurements and images; clinical interpretation and any decision about care remain the responsibility of a qualified professional. Certification scope is limited to the documentation we hold: European Union certification and ISO quality system certification.